
Can I Start Making Carved Candles from Home?
At Lumeinas, many people ask us the same questions:
“Can I really start a carved candle project from home? What materials do I need? Where can I buy them? Can I actually learn candle carving and the secrets of this craft online? And most importantly—can I really become a professional just by learning from home?”
The simple answer is: yes, absolutely.
But let us tell you the story from the very beginning…

How Our Passion for Carved Candles Began
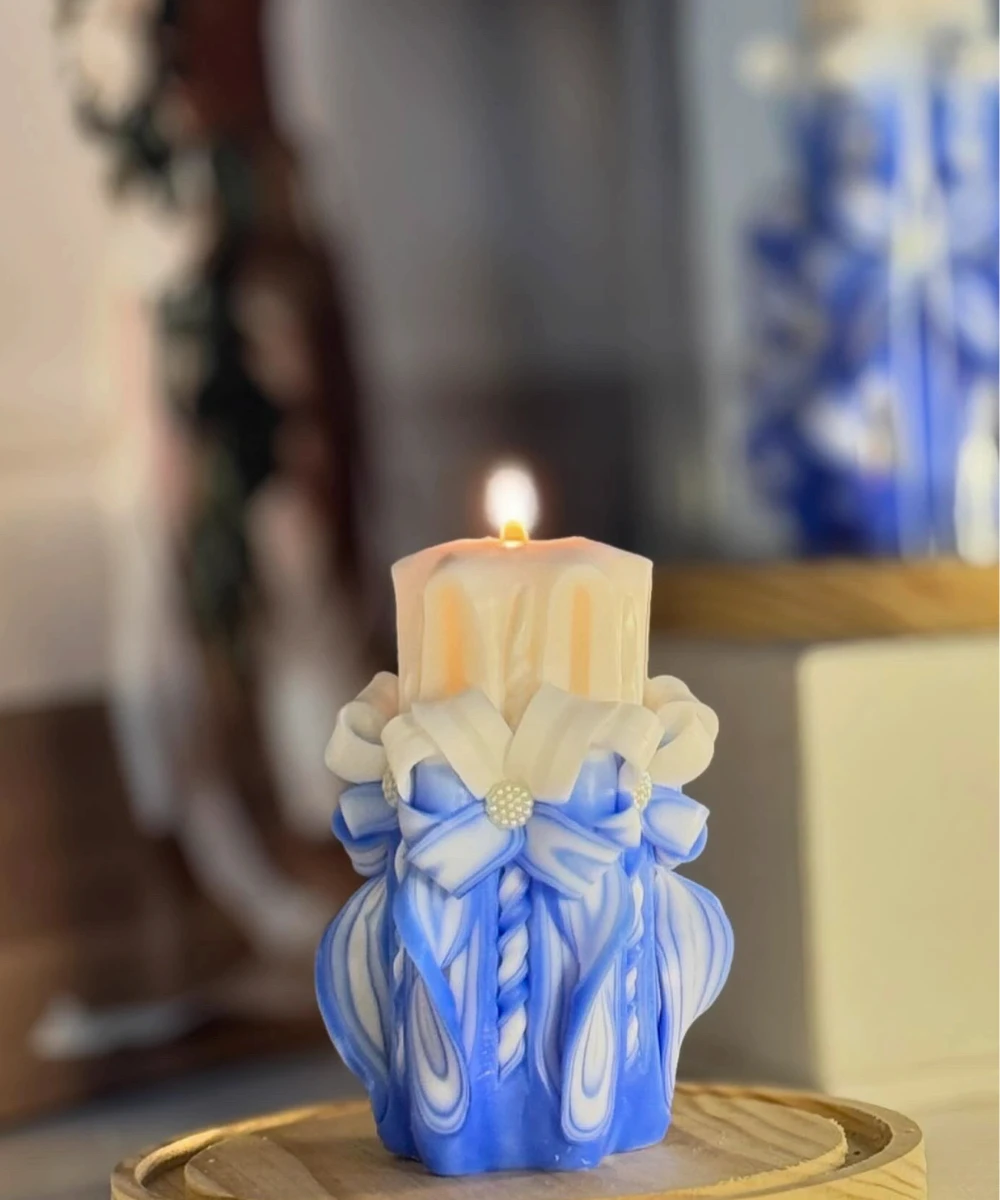
Years ago, we came across pictures of carved candles on the internet—literally pieces of art, with colorful layers and precise, delicate lines that looked like painted masterpieces. At first, we read about them a lot, watched tutorials, and followed artisans from different countries. The deeper we went, the more we discovered that this craft was much more than just melting wax and pouring it into molds.
From there, we started seriously searching for professional workshops that could teach us the art of handmade carved candles from its roots.
We eventually traveled to Dublin, Ireland, and joined an intensive training course. Yes, the course was in-person, but the real surprise was this: the actual skill didn’t come from the workshop—it started at home. Through practice and repetition, through mistakes and corrections, through trial and error.
And that’s when we learned an important lesson: this craft could absolutely be learned online, without the cost of travel and accommodation, if you had a clear curriculum, step-by-step training, and access to the hidden secrets of the trade. Honestly, everything began at home—what we were missing was the professional guidance, mentorship, and those trade secrets that make all the difference.
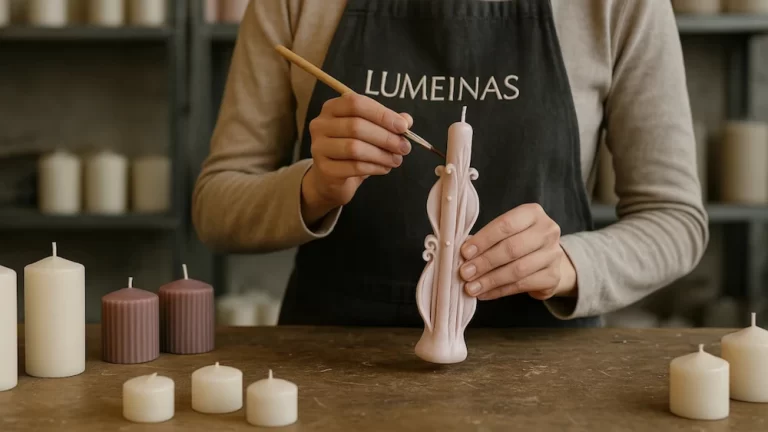
What Do You Need to Start?
Let’s keep it simple. If you want to start making handcrafted carved candles at home, you’ll need:
High-quality wax (usually paraffin, since it’s strong and the most common).
Candle dyes to add vibrant, layered colors.
Carving tools (fine knives or metal tools for shaping).
Candle molds to form the basic shape before carving.
Wicks so your candle isn’t just decoration but actually usable.
Wax melter to control temperature properly.
These are the basics. But above all, the most important element is your hands—because a carved candle isn’t just materials and tools. It’s creativity, patience, and artistic vision.


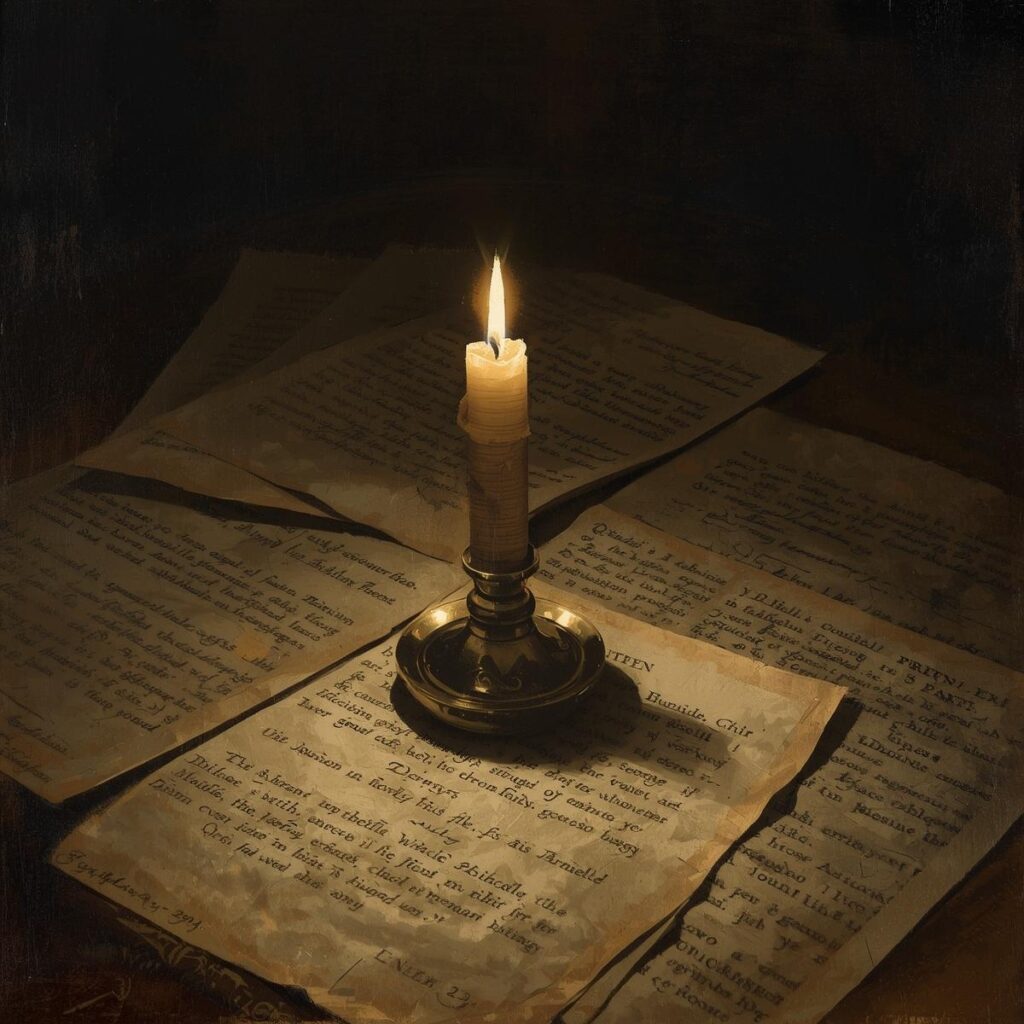
The Global Art of Carved Candles
This art was not limited to Europe. In Christian churches, carved candles held symbolic meaning and were used in rituals and official ceremonies. In Asia, candles played a key role in religious festivals and rituals, crafted from special wax and carved with precision. Each culture added its unique touch through colors and decorative patterns, making carved candles today a fusion of history and global artistry.
How Long Does It Take to Learn Carved Candles?
That depends entirely on you: how much time you dedicate, how often you practice, and your level of commitment. Some people need several months to feel confident, while others progress faster if they put in more hours consistently.
The truth is, every artisan you see today started in the same place: a small home studio, with simple tools, and lots of trial-and-error. Mastery doesn’t come overnight—it comes with practice, persistence, and repetition.
That’s why at Luminus we created a special online candle carving course. In it, we combined everything we learned along our journey—from our first experiments at home to the advanced training in Dublin—and packed all the trade secrets into one program.
It’s not just theory; it’s hands-on, step-by-step practice that helps you start the right way and save years of trial and error.

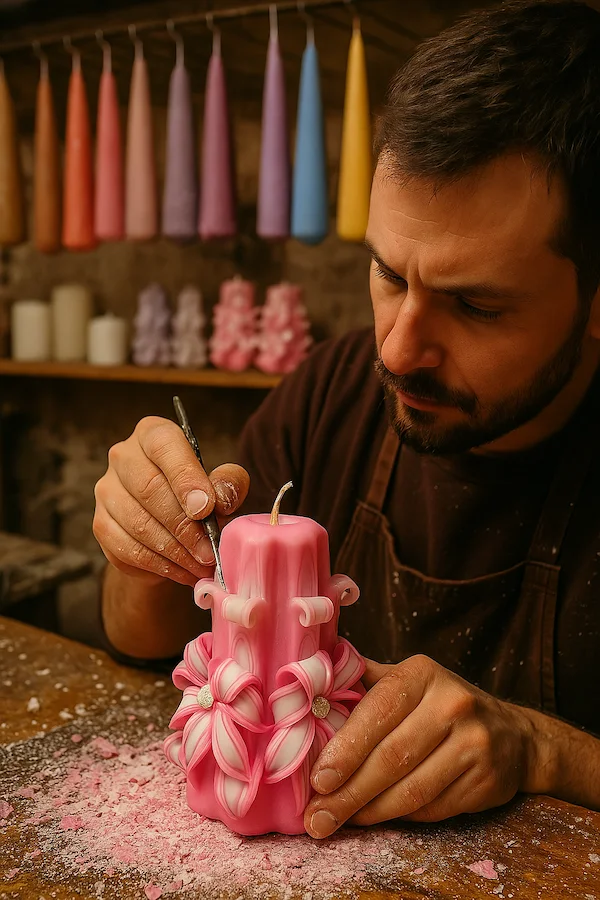
Why Are Carved Candles Expensive and Special?
Because handmade carved candles are not “just candles.”
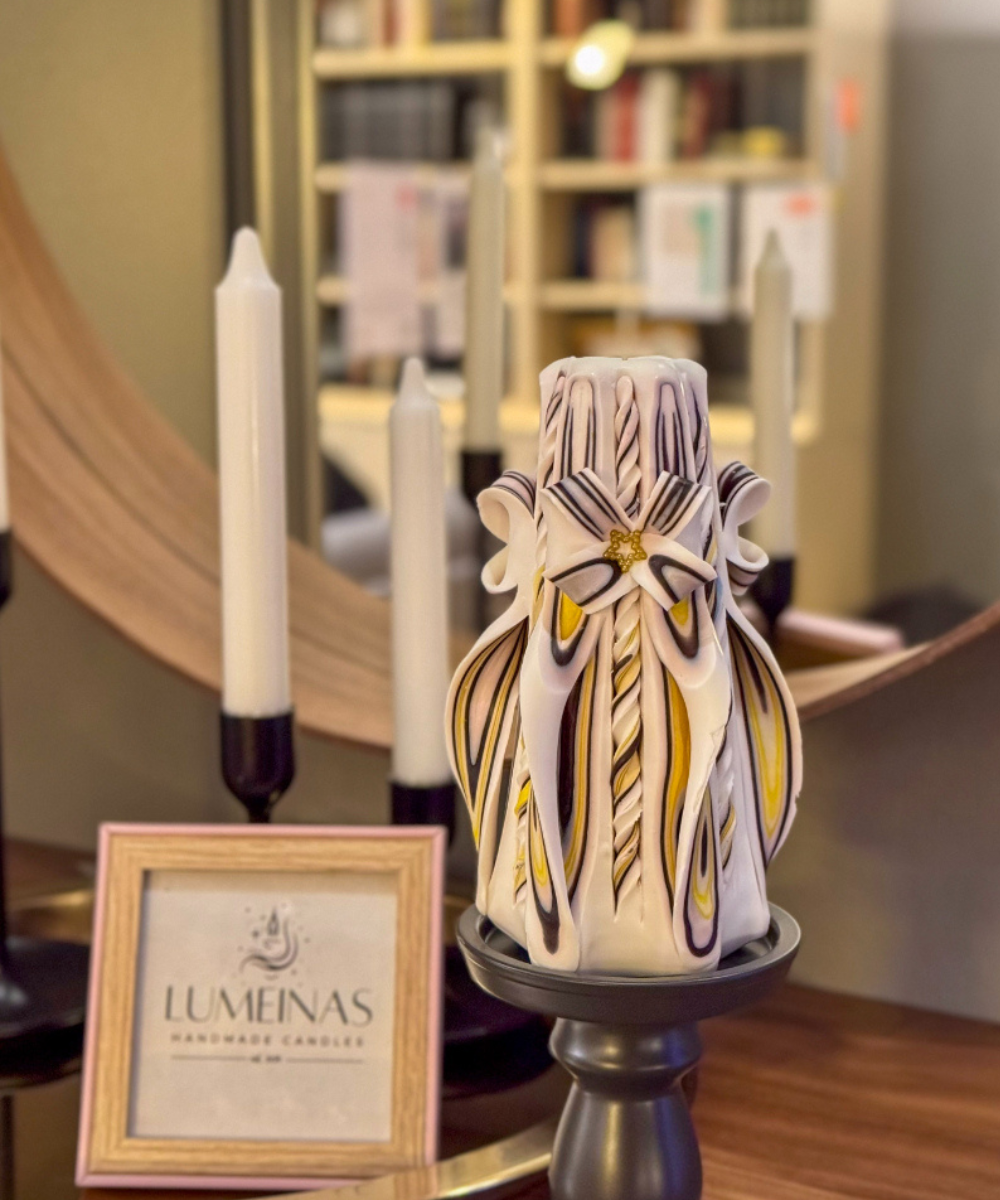
They are the result of a meticulous craft that requires long hours of patience and accumulated skill. Sometimes an artisan spends hours carving just one candle—melting the wax, layering the colors, pouring with precision, and then carving patterns that bring out stunning designs. Every curve and every cut is unique, making it impossible to replicate exactly.
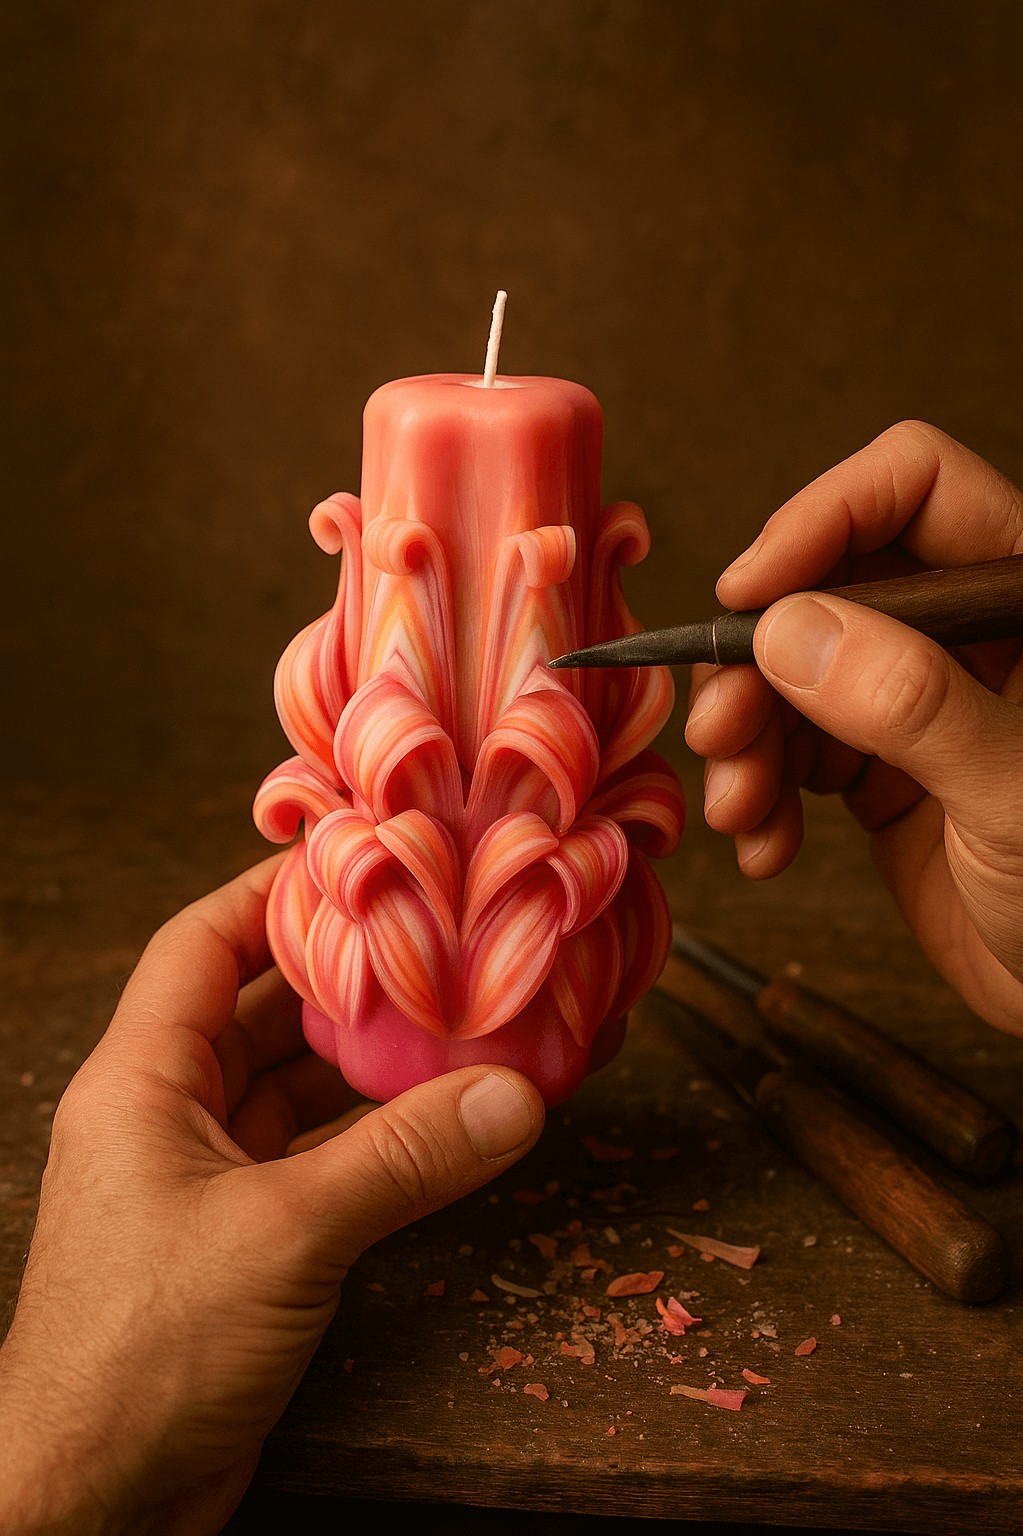
Unlike mass-produced candles made by machines in thousands of identical copies, a carved candle is one of a kind—like a fingerprint. That rarity gives it unmatched value: owning one means you own a piece of art, not just wax.
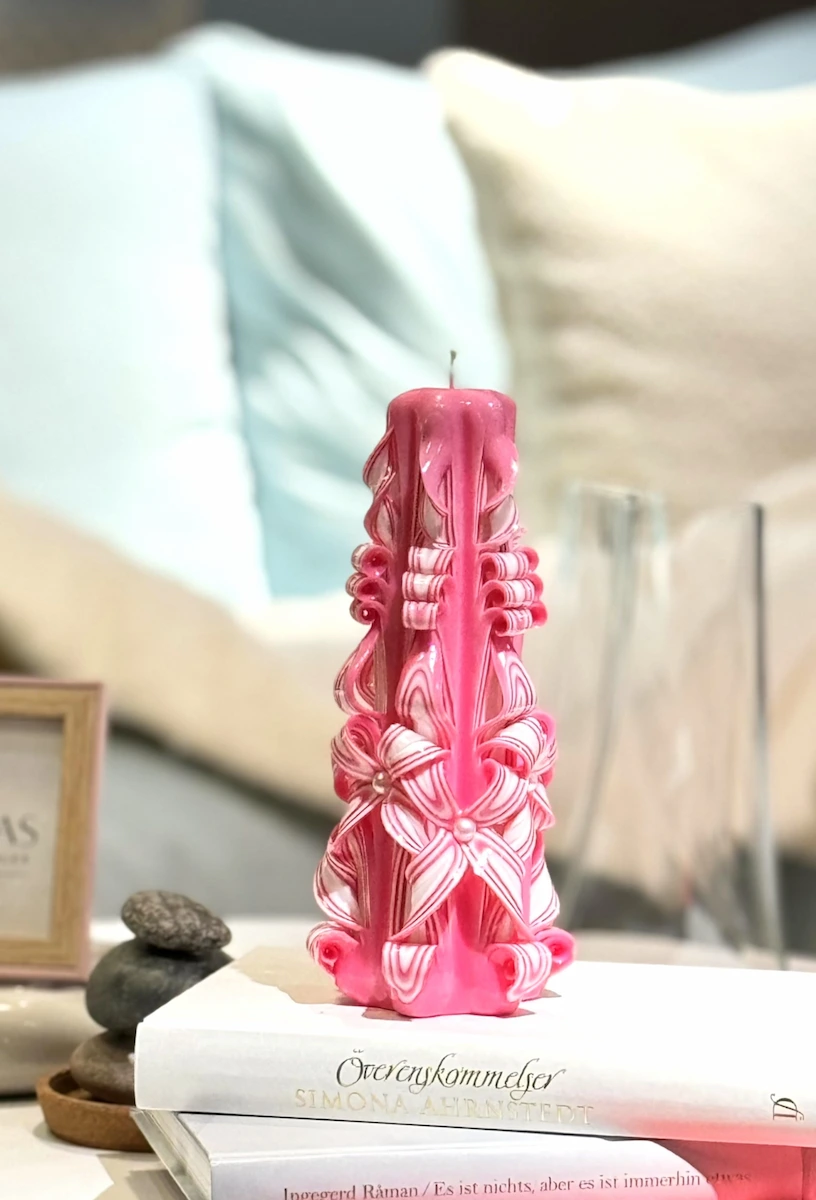
Carved candles are also versatile. They make luxury home décor for weddings, holidays, and special events. They’re also exceptional gifts, carrying a personal artistic touch that makes them far more meaningful than a regular candle.
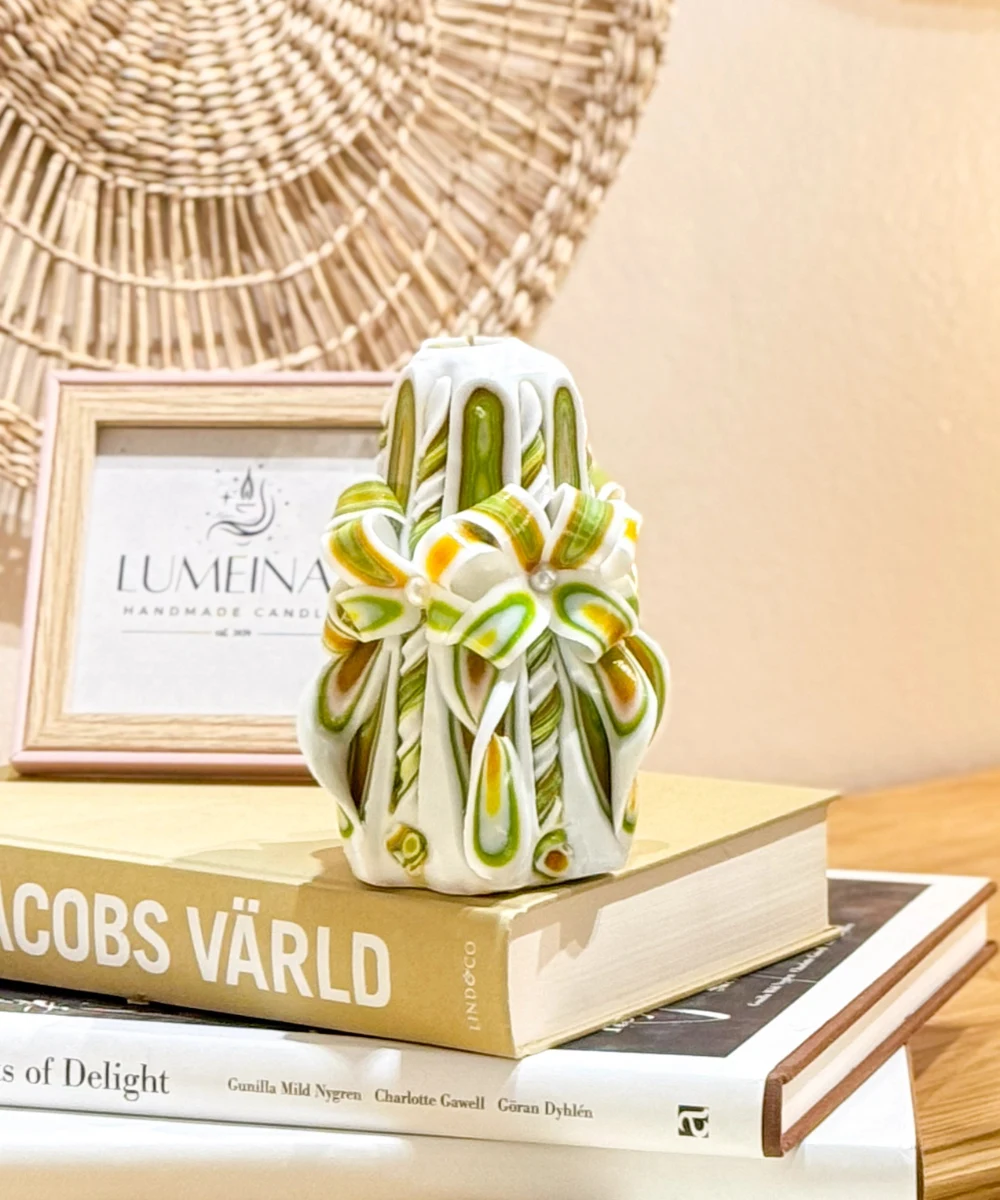
So yes, their price is higher than ordinary candles—but when you buy a carved candle, you’re not paying for wax; you’re paying for the artisan’s time, creativity, and a complete story expressed through layers of wax.
Is Candle Carving Profitable?
The answer is yes. Hand-carved candles are rare, high in demand, and appeal to people who want something unique, personal, and outside the mainstream. This makes them not just a hobby but also a potential profitable home business.
Final Thoughts
If you’re one of those people asking: “Can I really learn carved candle making at home and become professional?”—the answer is a big yes.
We walked the same path: curiosity, research, trial-and-error, and then advanced training. But the truth? Mastery came from daily practice at home.
That’s why the Lumeinas Online Candle Carving Course is designed to give you all the guidance you need—structured training, revealed trade secrets, and step-by-step support—so you can confidently start your own journey into the world of carved candles.